Now let's learn how to configure our website in WinSCP.
1) Enter the server address here.
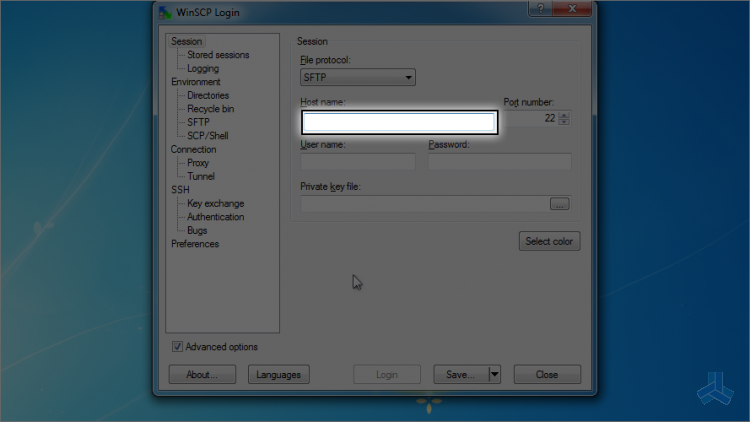
Keep the port number as it is, unless you know what you are doing.
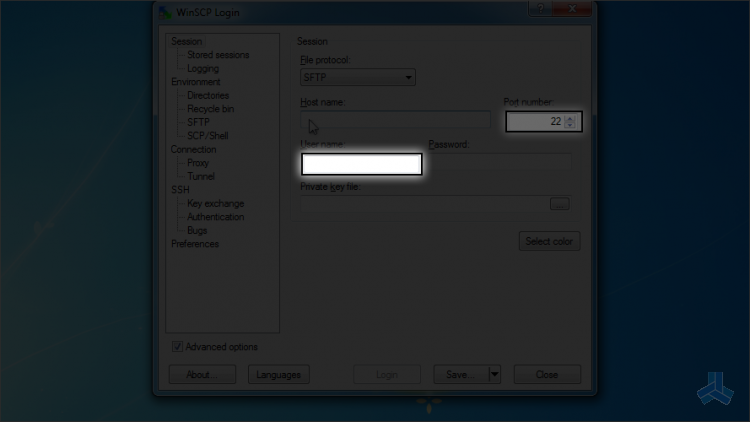
2) Next, enter the user name here.
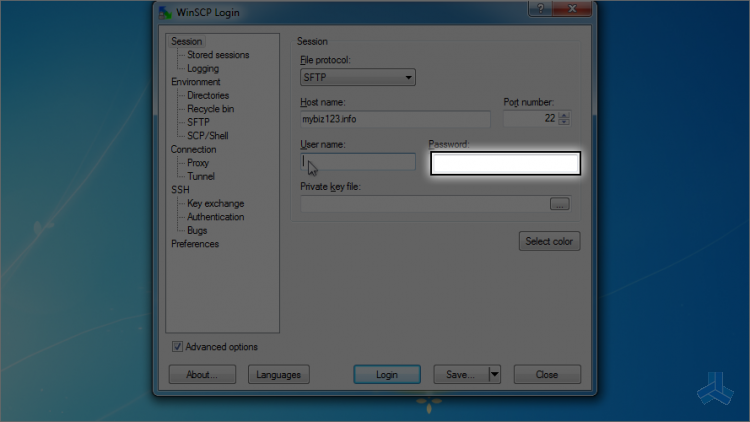
3) Enter the password here.
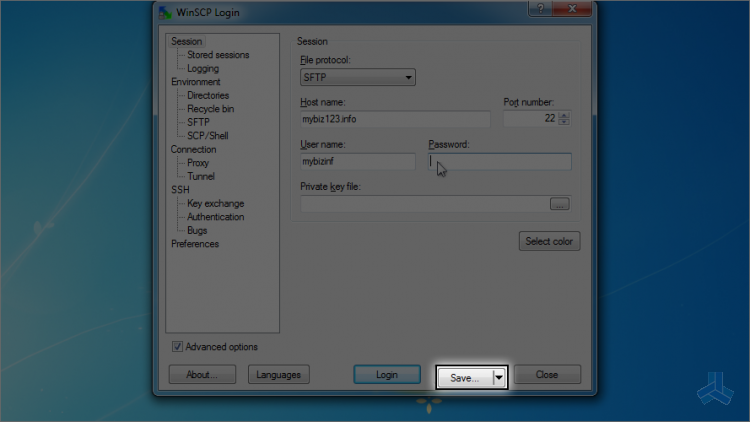
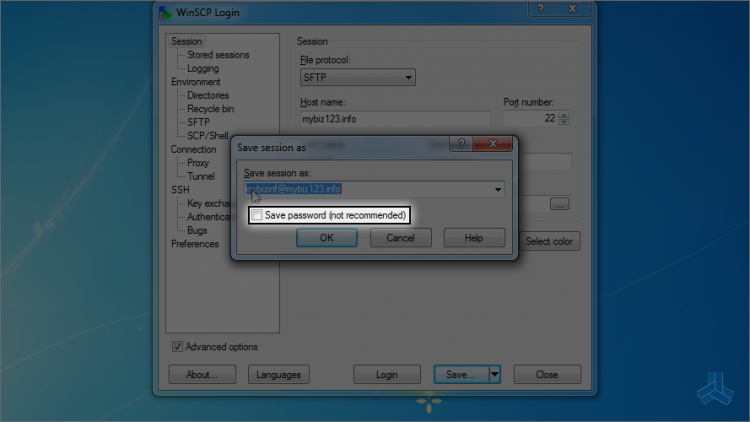
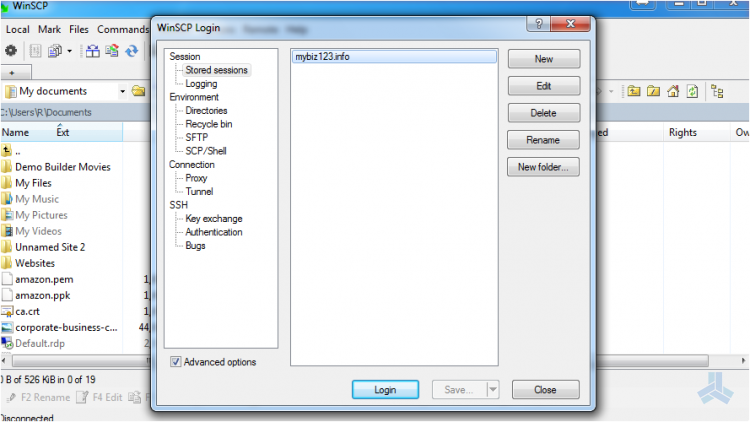
4) Now let's save this session so we can access it again in the future without entering all the info again.
5) If you wish, you can check this option to save password so you don't have to enter it again.
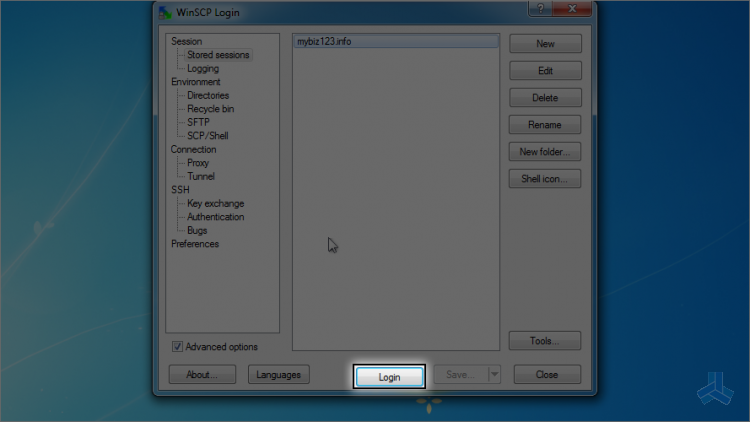
6) Here is our saved session. Let's log in to the server by clicking login.
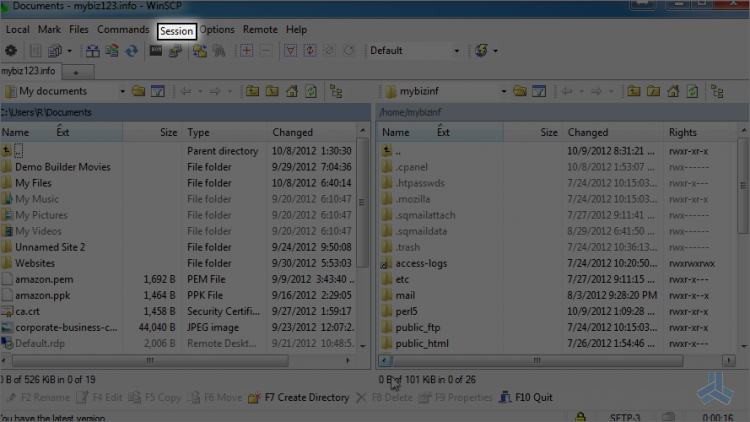
That's it! We've successfully connected to our website via FTP, and the session is saved for future use.
7) Let's go ahead and disconnect.
8) Click session.
9) Then click disconnect.
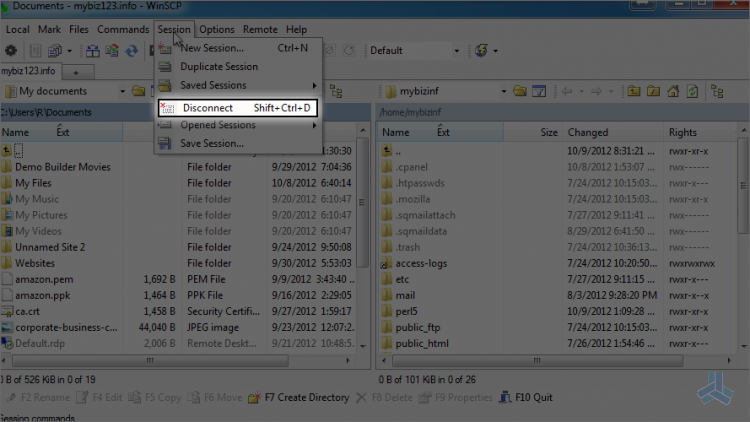
As we can see here, the session was saved, and we can log in quicker the next time we connect to this remote server.
This is the end of the article. Now you know how to configure your website in WinSCP.
